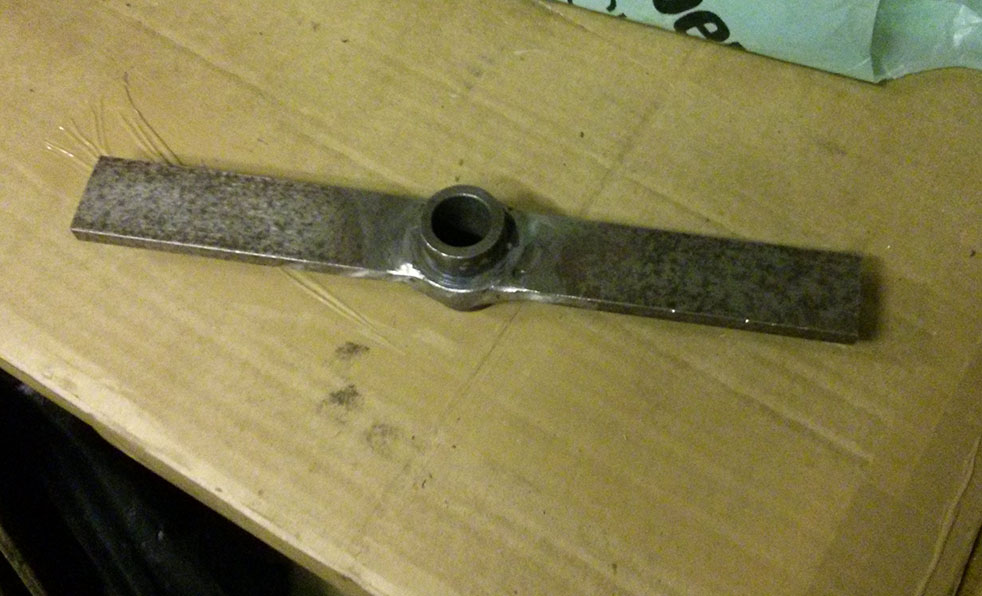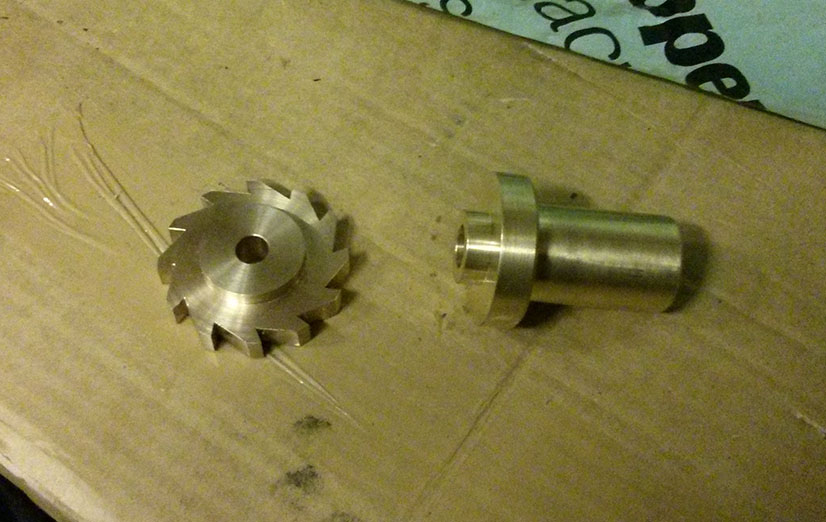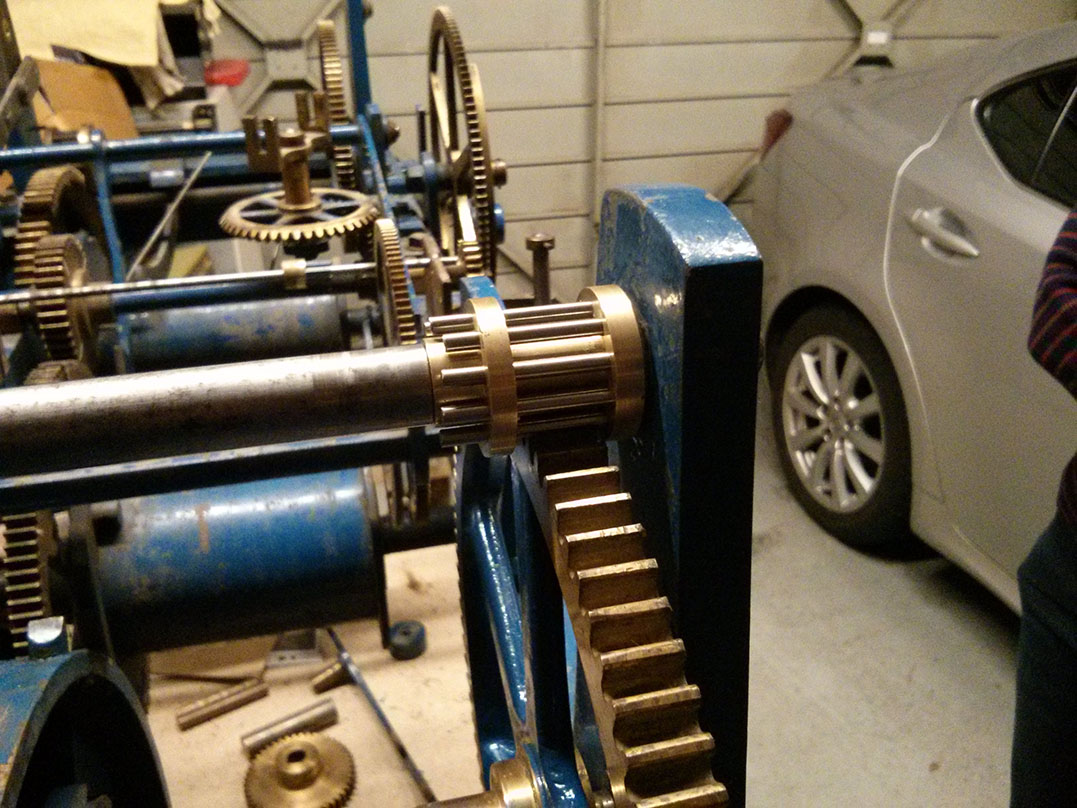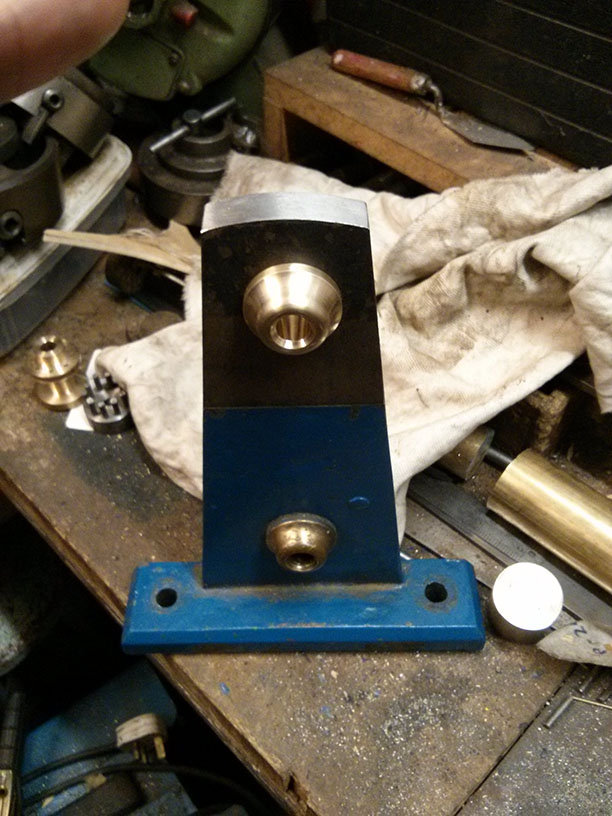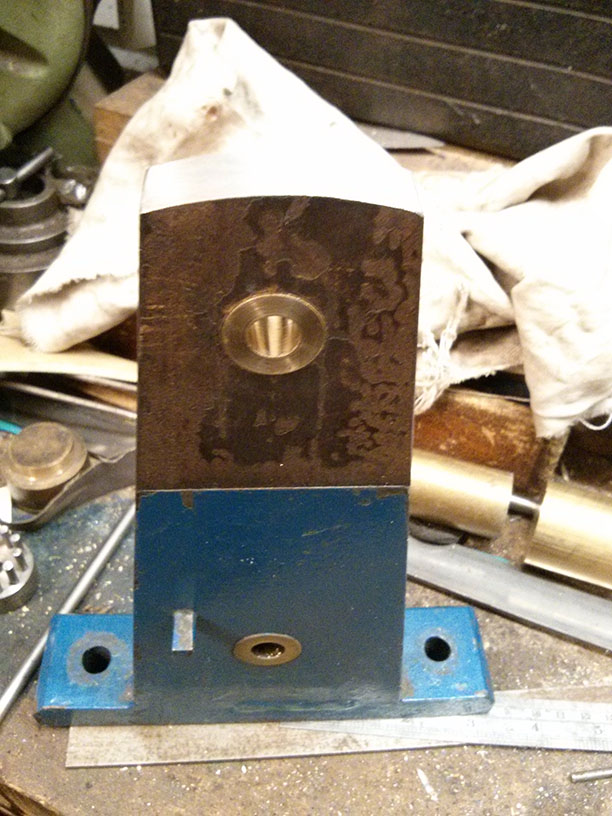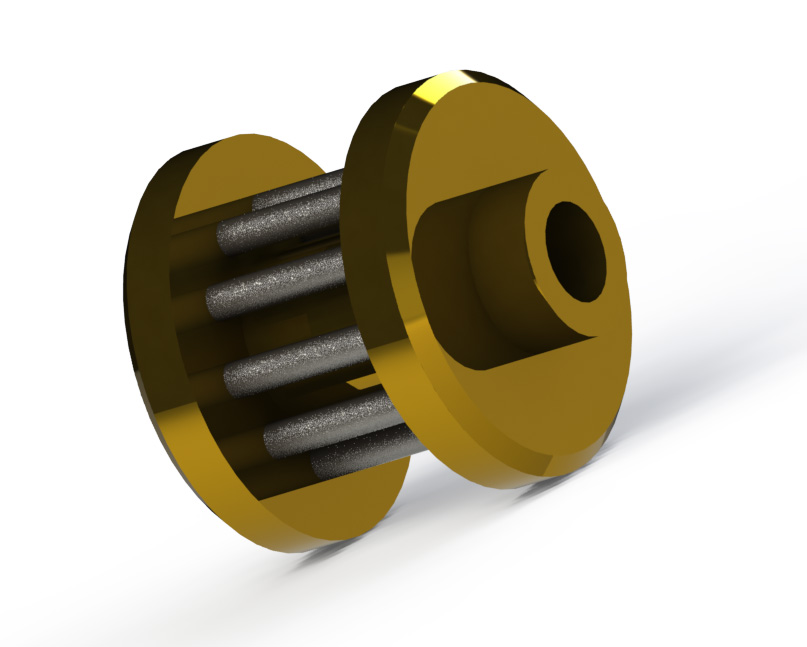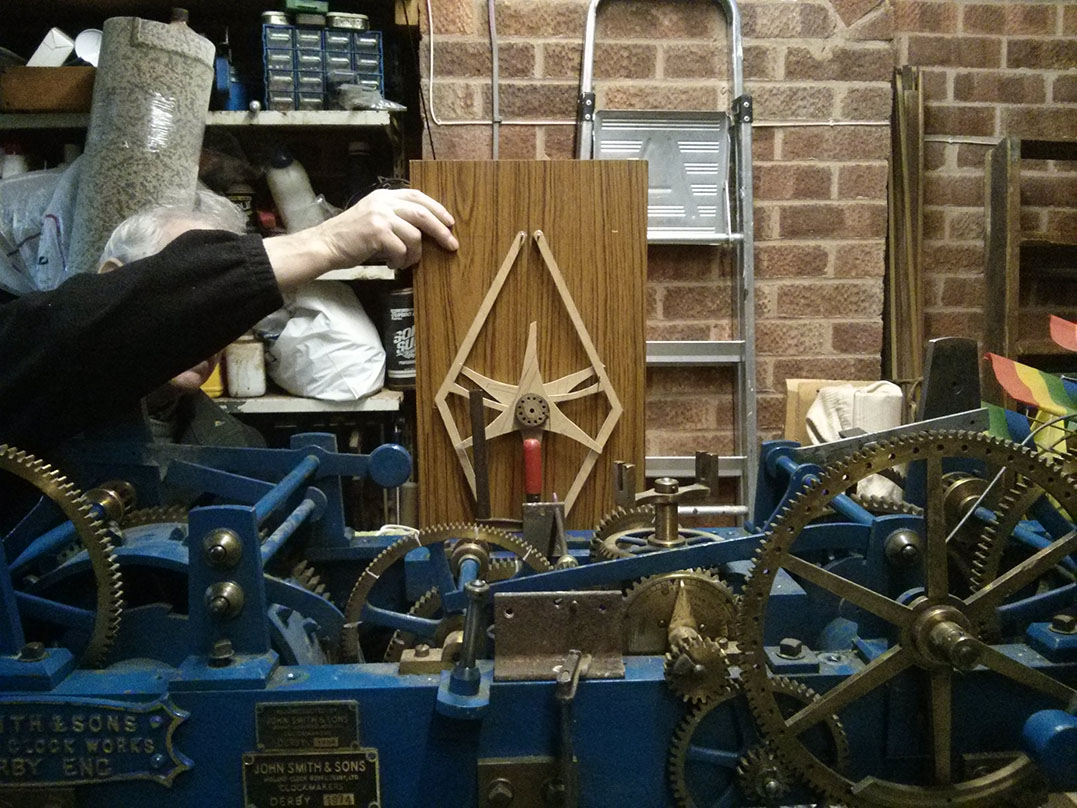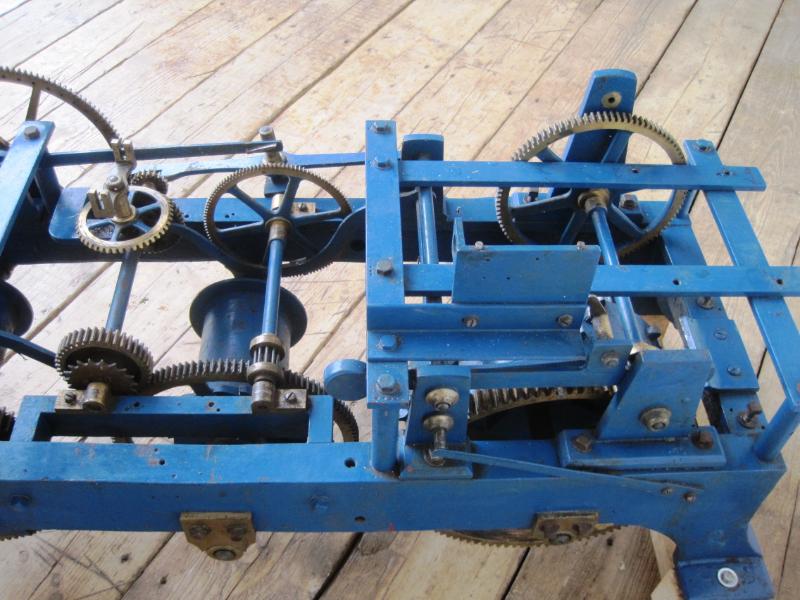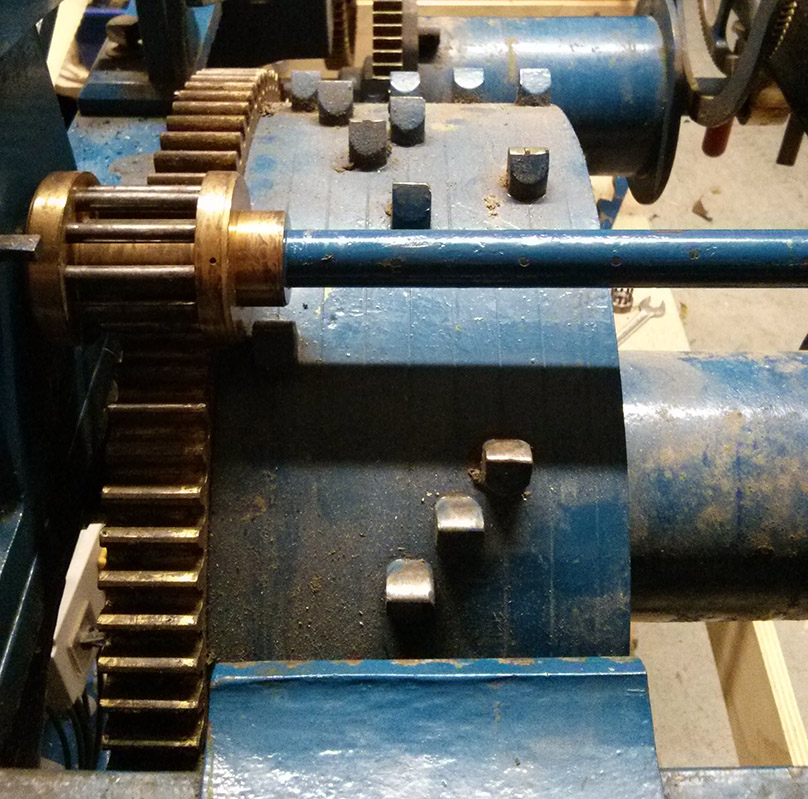
We’ve got a little bit more work done on the strike controlling mechanism (I previously called it the strike stopping mechanism, but of course it’s just as involved with starting the strike as it is with stopping it). The two “catch plates” (I don’t know if there is a proper horological term for these) had been removed. New ones have been made, but are not yet complete. To complete them they need two rectangular projections that interact with a third projection on a rotating arm attached to the fly arbour. We have also made the first of these rotating arms (minus it’s projection).
My father has seen this in action on his visit to Smith’s, and we have videos, but we still need to do some work on figuring out exactly how it works. An explanation of our current understanding follows…
Starting position before the clock begins to strike:
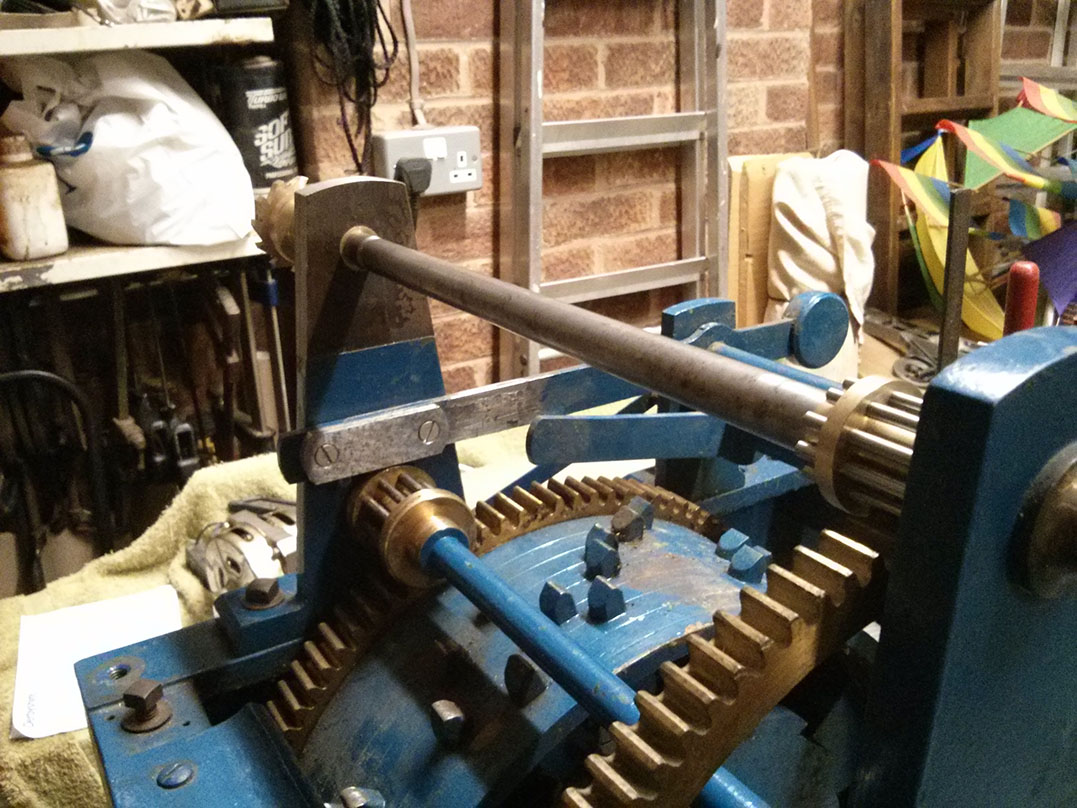
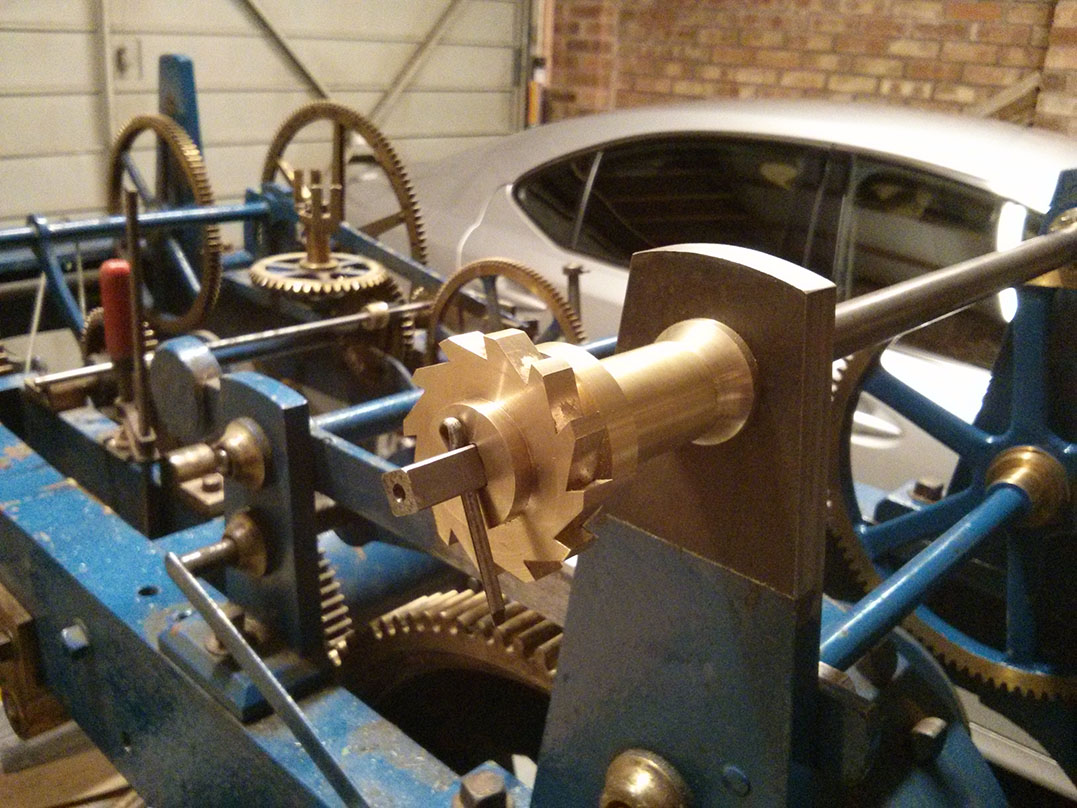
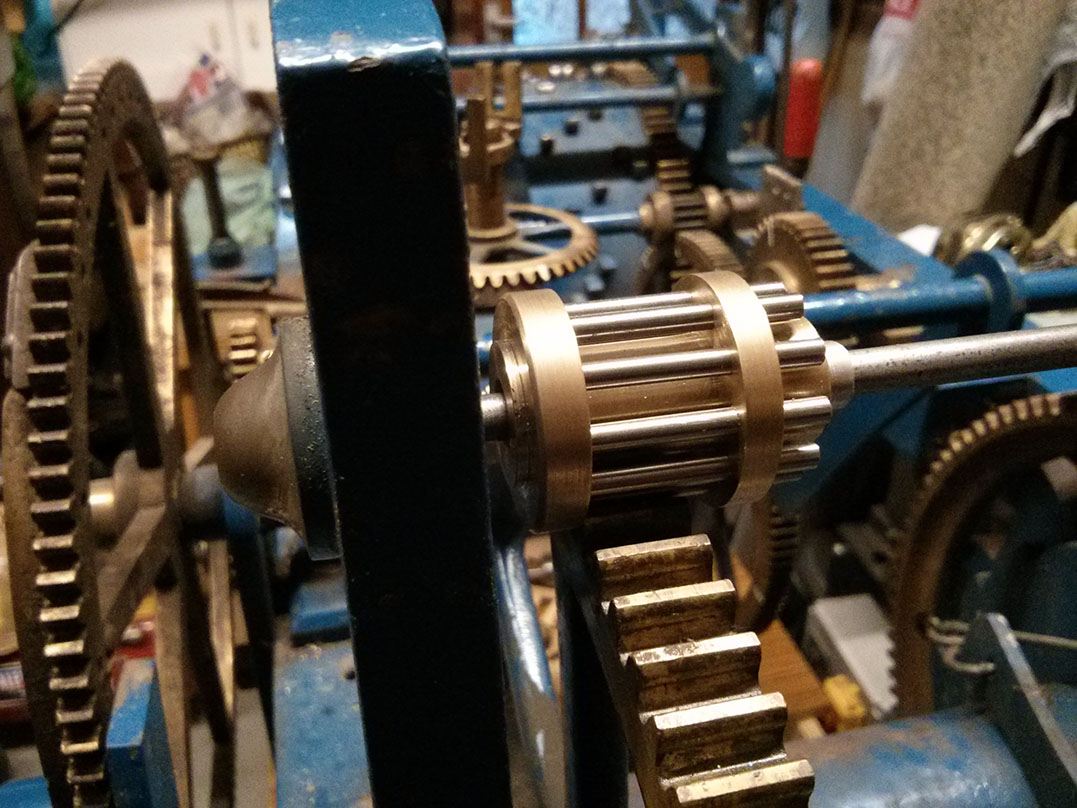
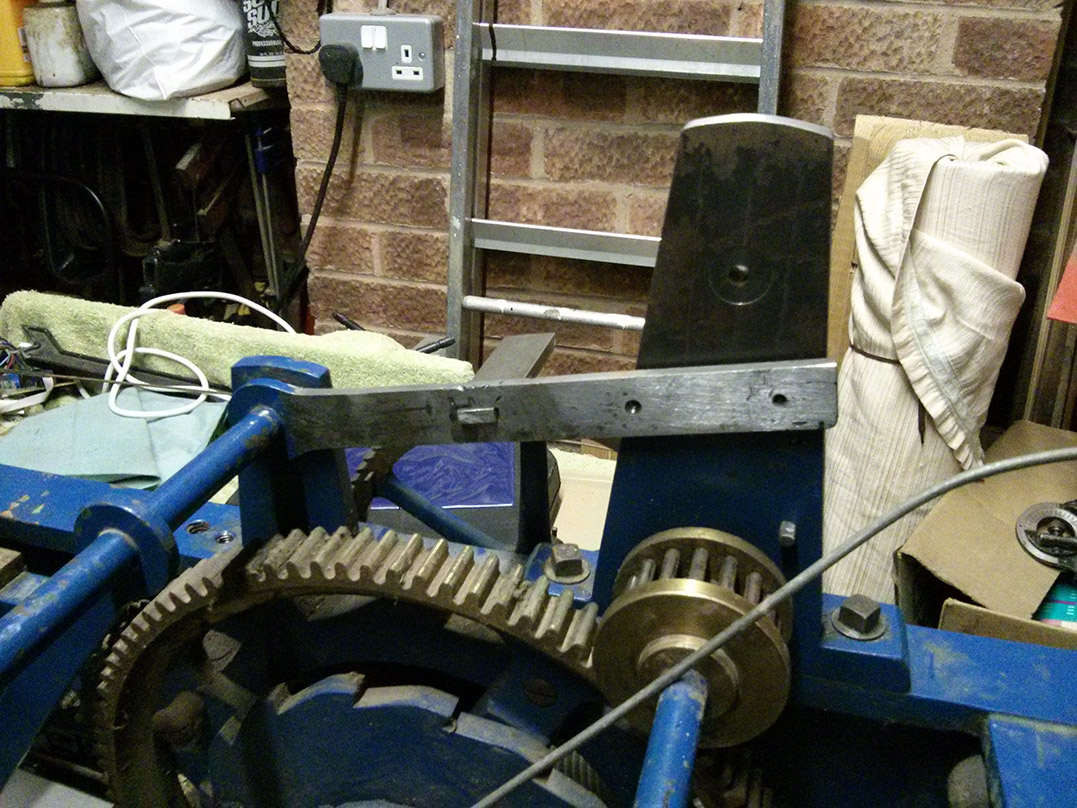
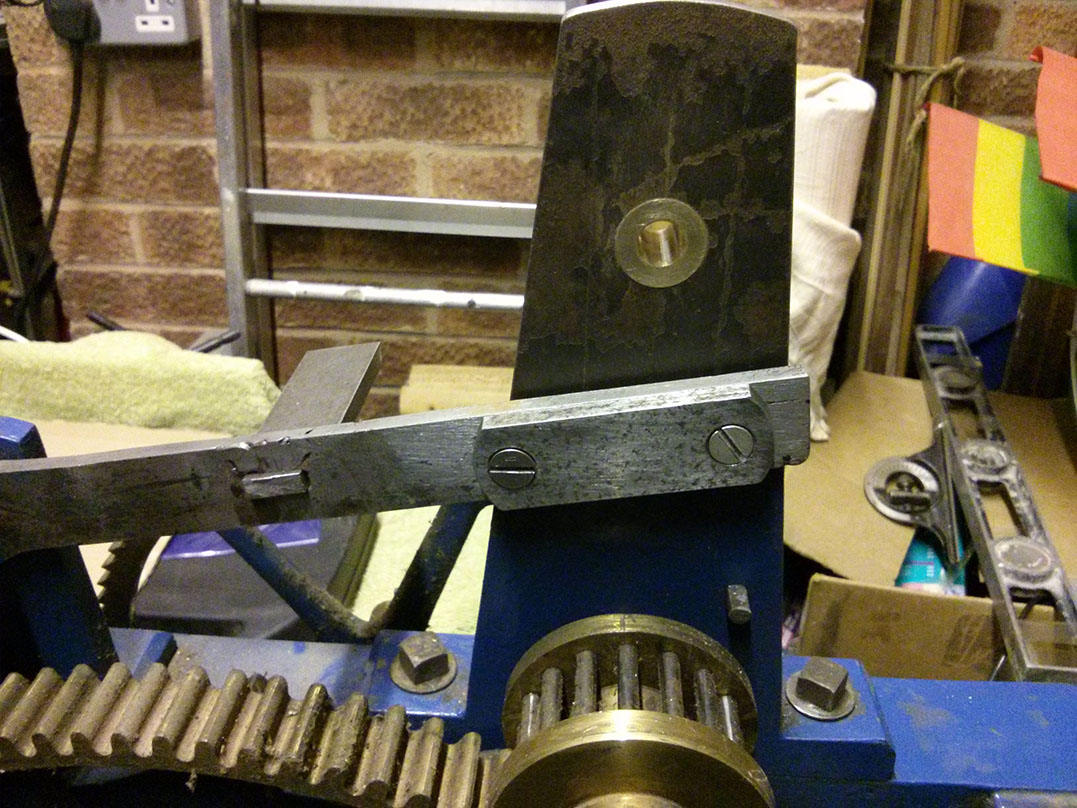
- The horizontal arm in the first picture (with the new plate attached) is held just above the rest pin (visible just above the right edge of the lantern pinion). It is held there by the projection you see from the back of the arm (incomplete) being lifted by a pin on the wheel behind the frame. The 12 pins on this wheel are spaced increasingly far apart to control the number of strikes.
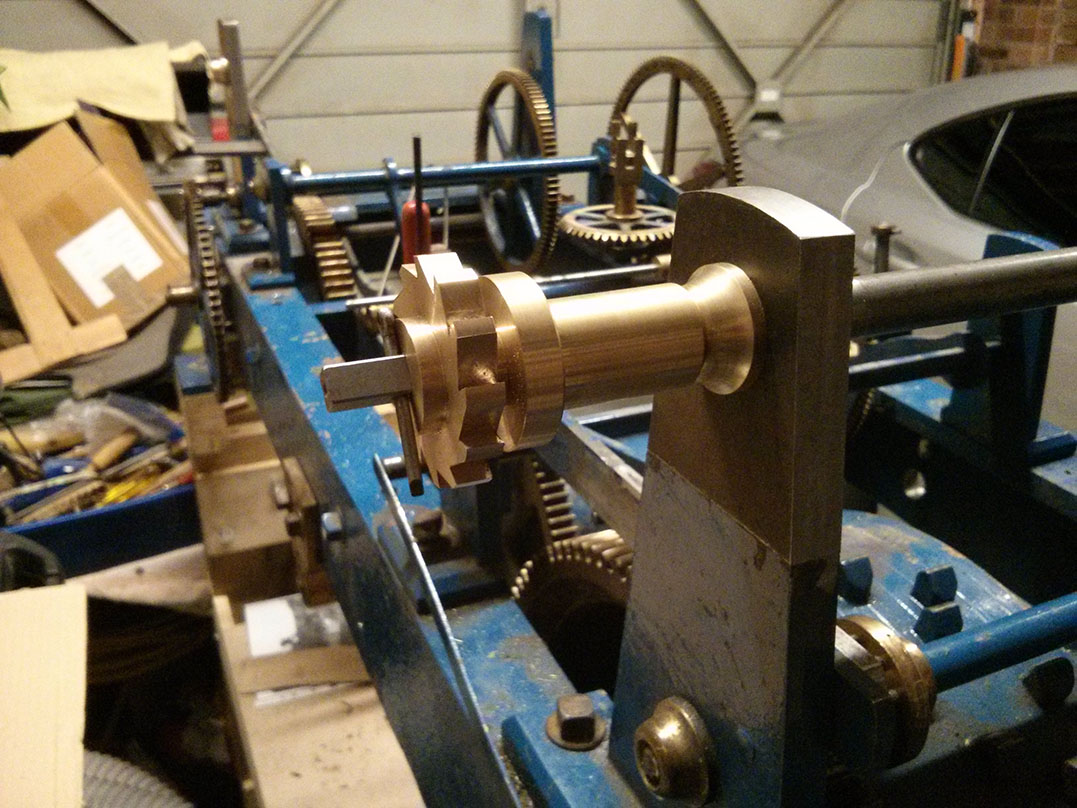
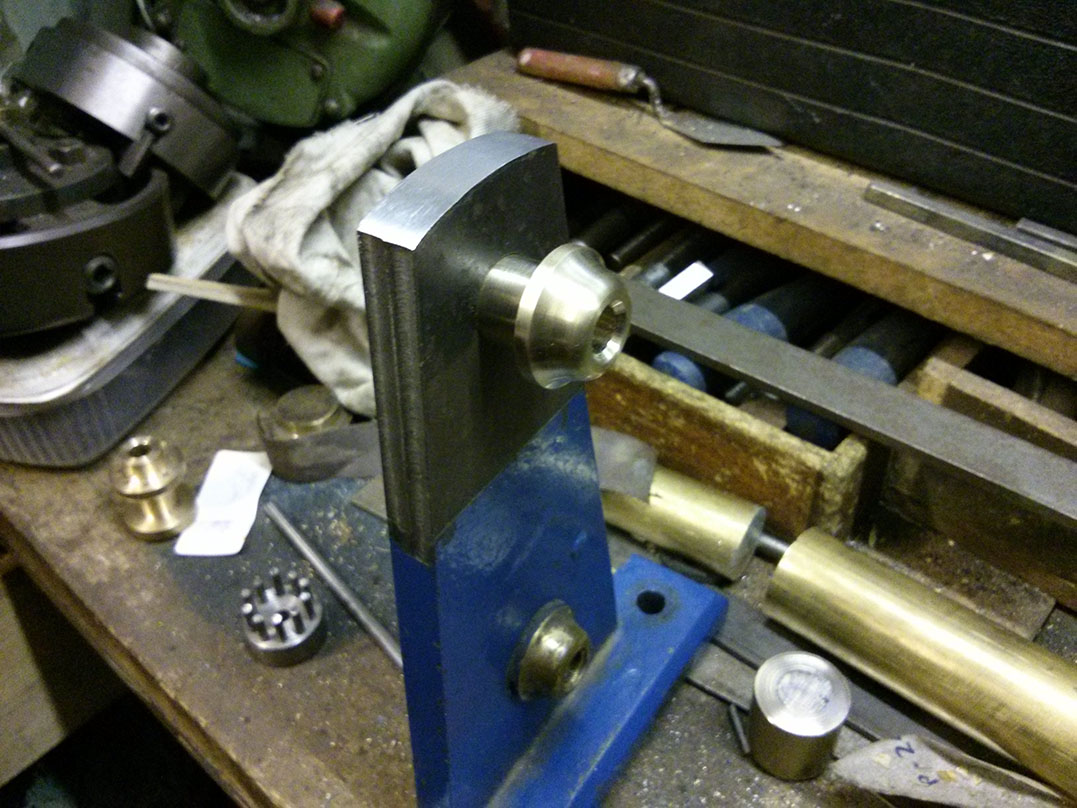
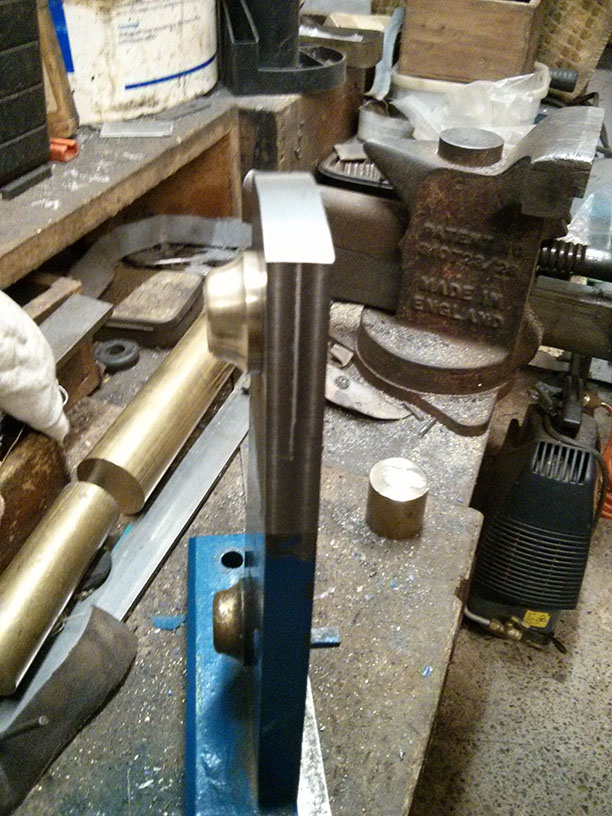
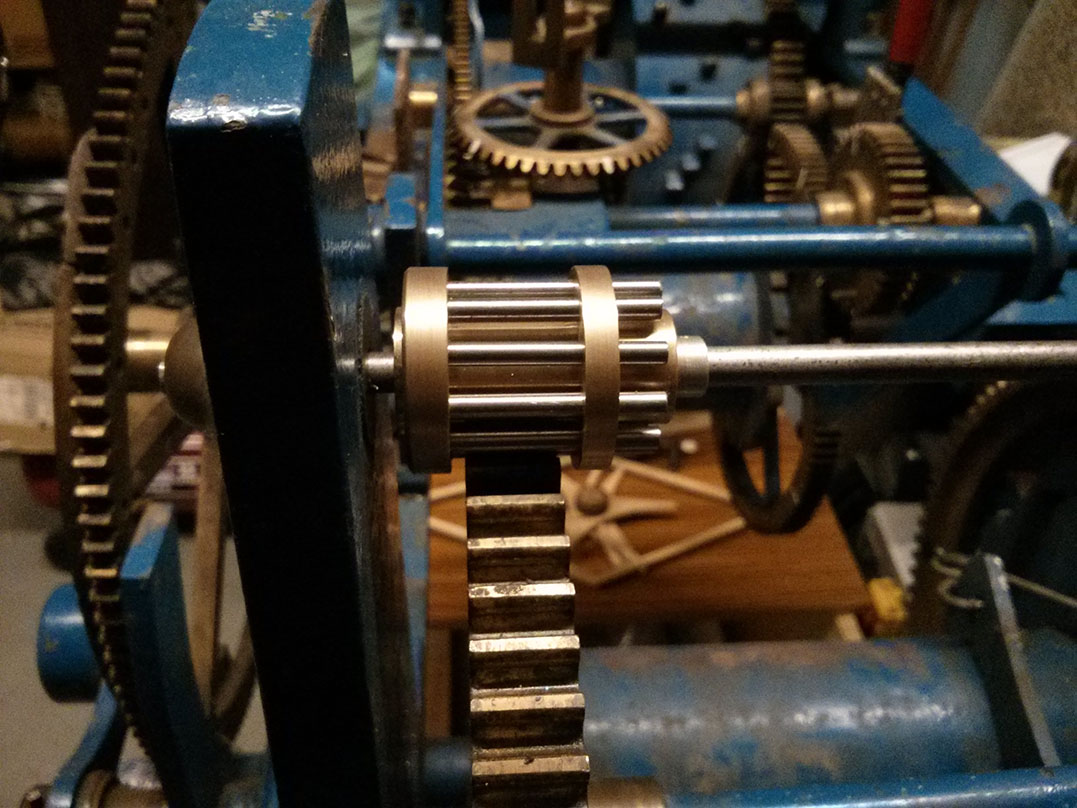
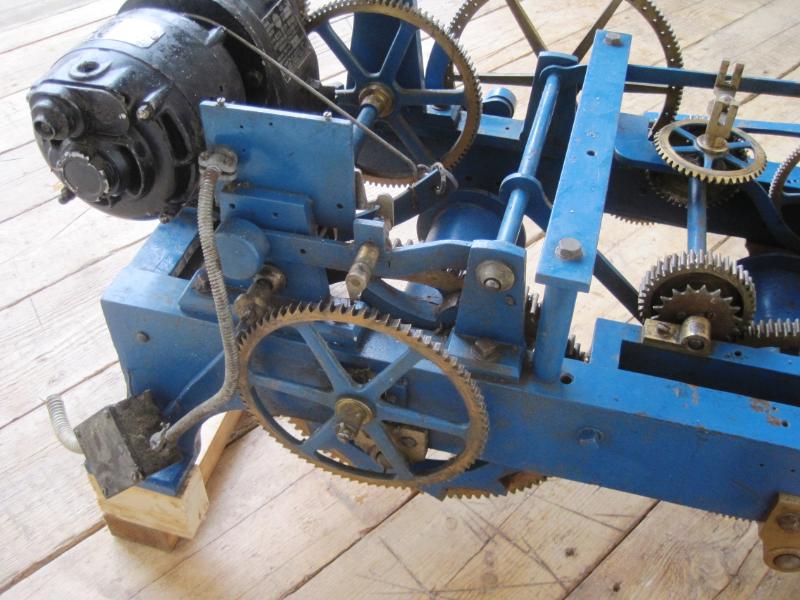
- The rotating arm (third picture) on the fly arbour is always trying to rotate clockwise but is obstructed because the square block projecting from it is locked against the square block projecting from the catch plate.
The striking process:
- The horizontal arm is lifted briefly by the going train, on the hour.
- This unlocks the rotating arm attached to the fly arbour, so its projecting block can pass below the block on the catch plate.
- The fly arbour begins to rotate, which means the rest of the train moves too.
- Within the first rotation of the fly arbour the wheel with the pins at the back of the clock rotates and is no longer trying to lift the horizontal arm.
- The horizontal arm drops down, below it’s starting point and rests on the rest pin.
- The rotating arm is now able to rotate freely, its block now passing above the block on the catch plate.
- The clock strikes the required number of times.
- A pin on the wheel at the back lifts the horizontal arm.
- The block on the rotating arm collides with the block on the catch plate causing the arbour, and rest of the train, to stop.
- The fly, which is driven by a ratchet, continues to spin for several seconds, until it comes to a natural stop.
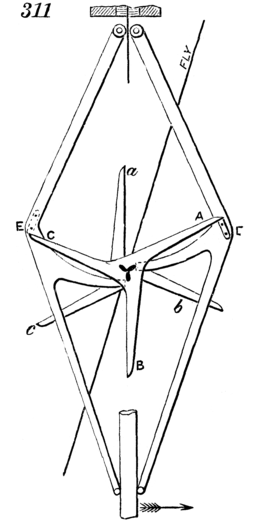
This explanation will probably be a lot easier to follow once we’ve completed it and have more pictures, or better yet a video. In the mean time these videos might help: a 1912 Smith clock in the US & the 1910 Smith clock at Trinity College, Cambridge.